
Thinking about studying in Canada? You’re not alone. Thousands of students from all over the world dream of studying there because of its world-class education, safe environment, and welcoming culture. But before you pack your bags, you need to know how to apply — and that’s where most students get confused.
So, in this guide, I’ll walk you through a complete step-by-step process to apply for Canadian universities in the simplest way possible. I’ll also include some quick tips, a few tables, and FAQs to make everything super easy to understand.
Why Study in Canada?
Before jumping into the process, let’s take a quick look at why so many students choose Canada.
| Benefits | Description |
|---|---|
| High-Quality Education | Canada is home to top universities like University of Toronto, McGill, and UBC. |
| Affordable Tuition | Compared to the USA or UK, Canadian tuition and living costs are much lower. |
| Work Opportunities | You can work part-time during your studies and full-time in breaks. |
| Post-Graduation Work Permit (PGWP) | After graduation, you can stay and work in Canada for up to 3 years. |
| Diverse and Safe Environment | Students from all around the world live peacefully and enjoy multicultural life. |
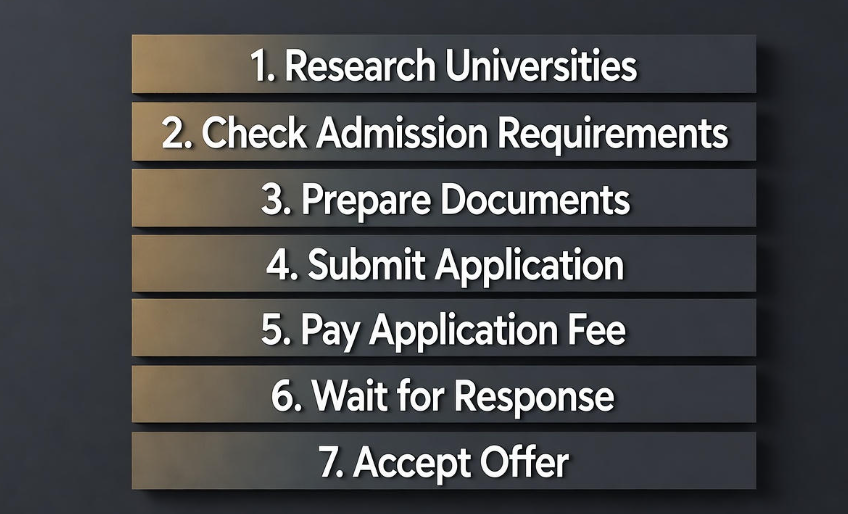
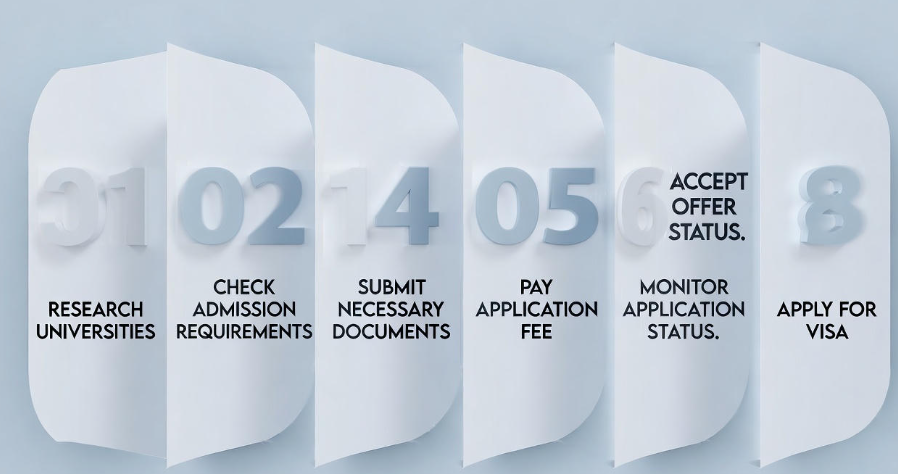
Step 1: Research and Shortlist Universities
The very first step is to do your homework — and I don’t mean assignments! You need to research which universities and programs match your academic background, interests, and career goals.
Check these things while shortlisting:
-
The ranking and reputation of the university
-
The program’s curriculum and structure
-
Location and climate (Canada has very cold winters!)
-
Tuition fees and cost of living
-
Availability of scholarships and financial aid
Example:
If you’re interested in Computer Science, you might consider:
-
University of Toronto (Ontario)
-
University of British Columbia (Vancouver)
-
University of Waterloo (Ontario)
Take your time with this step — it’s the foundation of your journey.
Step 2: Check Admission Requirements
Each university in Canada sets its own admission criteria. So once you shortlist, go to their official websites and look carefully at the requirements for your desired program.
Here’s what they usually ask for:
-
High school or bachelor’s transcripts (depending on program level)
-
English language test scores (IELTS, TOEFL, or PTE)
-
Letter of Intent or Statement of Purpose (why you want to study there)
-
Letters of Recommendation from teachers or employers
-
Resume/CV
-
Application fee payment
Pro tip: Some programs, like Architecture or Fine Arts, may also ask for a portfolio.
Language Requirements Example Table:
| Test | Minimum Score (Undergraduate) | Minimum Score (Postgraduate) |
|---|---|---|
| IELTS | 6.0 overall (no band less than 5.5) | 6.5–7.0 overall |
| TOEFL iBT | 80–90 | 90–100 |
| PTE | 58 | 65 |
Step 3: Prepare Your Documents ️
Now comes the paperwork part — which many students underestimate. Get everything ready before applying.
Here’s a simple checklist:
✅ Academic transcripts (in English, attested copies)
✅ Valid passport (must be valid for at least the duration of study)
✅ Language test result (IELTS/TOEFL)
✅ Statement of Purpose (SOP)
✅ Reference/Recommendation letters
✅ Updated CV or Resume
✅ Passport-size photographs
Make sure your documents are scanned clearly and saved as PDFs. Use proper file names like SOP_YourName.pdf or Transcript_YourName.pdf so you don’t get lost in your own files later.
Step 4: Apply Online Through the University Portal
Almost all Canadian universities have online application portals. You don’t have to mail physical documents (unless specified).
Steps are usually like this:
-
Go to the official university website.
-
Create an account on their application portal.
-
Fill in your personal and academic details carefully.
-
Upload the required documents.
-
Pay the application fee (usually between CAD $100–$150).
-
Submit and wait for confirmation email.
⏳ It might take a few weeks or even months before you hear back — so be patient.
Important Tip: Apply early. The earlier you apply, the better your chances, especially for scholarships and visa processing.
Step 5: Wait for the Offer Letter
If you meet all the requirements and impress the admission team, you’ll receive either:
-
Conditional Offer Letter: You need to submit pending documents (like final grades or English score).
-
Unconditional Offer Letter: You are officially accepted — congrats!
Once you get this letter, you’ll have to confirm your acceptance by paying a deposit fee (varies by university).
Example:
University of Toronto may ask for a CAD $500–$1,000 deposit to secure your seat.
Step 6: Apply for a Canadian Study Permit (Visa)
After getting the offer letter, the next big step is applying for a Canadian Study Permit, which is basically your student visa.
You can apply online through the IRCC (Immigration, Refugees, and Citizenship Canada) website.
-
Thinking long-term? Discover career growth opportunities in Canada after study — Read more here
Documents needed:
-
Offer letter from a Designated Learning Institution (DLI)
-
Proof of financial support (bank statement, sponsorship letter, or GIC)
-
Valid passport
-
Passport-size photos
-
Statement of Purpose (why you want to study in Canada)
-
Immigration medical exam (from a panel physician)
-
Visa application fee (about CAD $150)
Proof of Funds Example:
| Type of Expense | Minimum Required (for one year) |
|---|---|
| Tuition Fees | Around CAD $15,000 |
| Living Expenses | CAD $10,000 (outside Quebec) |
| Additional Member (spouse/child) | CAD $4,000–$5,000 extra |
Step 7: Get Your Biometrics and Medical Done
Once you apply for a visa, you’ll get a Biometric Instruction Letter asking you to visit a nearby VAC (Visa Application Centre).
You’ll need to:
-
Give fingerprints and a photo
-
Possibly complete a medical exam (if not already done)
These are mandatory for most international students.
Step 8: Wait for Visa Decision ✉️
After completing all the steps, the final waiting period begins. Processing time varies — usually between 3 to 8 weeks depending on your country.
During this time, you can check your application status online on the IRCC portal.
If approved, you’ll receive a Port of Entry (POE) Letter of Introduction. This isn’t your visa but a document you’ll show to the immigration officer when you land in Canada.
Step 9: Prepare for Your Journey ✈️
Now that your visa is approved — congratulations! It’s time to get ready for the big move.
Here’s a mini checklist before you fly:
✅ Book flight tickets early (they get expensive fast)
✅ Arrange accommodation (on-campus or off-campus)
✅ Pack warm clothes (Canadian winters can be freezing ❄️)
✅ Carry important documents in hand luggage
✅ Keep digital copies of all important papers
You should also join your university’s social groups or WhatsApp communities for international students. They’re super helpful!
Step 10: Arrive in Canada and Start Your New Journey
When you land, show your passport, visa documents, and POE letter to the immigration officer. They’ll issue your Study Permit, and then you’re officially ready to begin your student life in Canada.
Take a deep breath — you’ve made it!
Some Bonus Tips to Increase Your Chances of Acceptance
-
Maintain a strong GPA and good extracurricular record.
-
Write a genuine Statement of Purpose (tell your real story).
-
Apply to multiple universities, not just one.
-
Prepare for IELTS/TOEFL properly.
-
Double-check all your documents before submission.
Common Mistakes Students Make
❌ Waiting too long to apply — universities fill up fast.
❌ Submitting incomplete or unclear documents.
❌ Copying SOPs from the internet (universities can tell!).
❌ Ignoring email updates from the university or IRCC.
Frequently Asked Questions (FAQs)
Q1: When should I start applying to Canadian universities?
You should start at least 12 months before your intended intake (for example, apply in September 2025 for Fall 2026). This gives you enough time for tests, documents, and visa processing.
Q2: What is the best intake to apply for?
Canada has three intakes: Fall (September), Winter (January), and Spring/Summer (May). Most students prefer Fall because it offers the most programs and scholarships.
Q3: Can I work while studying?
Yes! You can work up to 20 hours per week during your studies and full-time during holidays or breaks.
Q4: How much money do I need to show for the visa?
Usually around CAD $25,000–$30,000, depending on your university and province.
Q5: Do I need to hire an agent to apply?
No, not necessarily. You can apply by yourself through the university’s website. But if you’re unsure or need help, you can use a licensed education consultant.
Final Thoughts
Applying to Canadian universities might look complicated at first, but once you break it down step-by-step, it becomes quite easy. Just stay organized, keep your documents ready, and always check the official university and IRCC websites for the latest updates.
And remember, it’s not just about getting admission — it’s about starting a new chapter of your life in a country full of opportunities. ✨
If you found this helpful, you might also want to check out Canada’s official study guide for international students. It’s a great resource for double-checking requirements and deadlines.